Building real-world projects in Web3 is important for anyone looking to understand and develop decentralized applications. It's essential to gain hands-on experience in using the latest technologies and frameworks to build a functional application.
By working on projects like a Tiktok clone, you can learn about various aspects of Web3, such as social graphs, data querying, video infrastructure, and wallet authentication. These skills can be applied to develop more complex and sophisticated decentralized applications, paving the way for the future of the internet.
In this tutorial, you are going to build a full-stack Tiktok clone using the below tech stack.
Mobile framework: React Native
Social graph: Lens Protocol
Querying data: Lens API
Video Infrastructure: Livepeer
Wallet Authentication: WalletConnect
You can find the final code of the application here.
Prerequisites
Before you start with the tutorial make sure you have Node.js v16 or greater and Expo CLI installed on your machine.
Setting up React Native app
To get started, you need to set up a React Native app and install the required dependencies. To do this, simply run the following command in your terminal:
npx create-expo-app web3-tiktok
This command creates a new React Native app using Expo CLI. The process may take some time depending on the speed of your machine and internet connection. Once the project has been created successfully, run the following command to install additional dependencies.
cd web3-tiktok && yarn add react-native-webview react-native-walletconnect @react-native-async-storage/async-storage @apollo/client graphql @livepeer/react-native @react-navigation/native @react-navigation/stack react-native-screens react-native-safe-area-context @react-navigation/material-bottom-tabs expo-media-library react-native-gesture-handler expo-av livepeer react-native-svg
react-native-walletconnectprovides a way for our app to connect with a user's crypto wallet using WalletConnect. This is important since we want to authenticate users with their wallets.@react-native-async-storage/async-storageprovides a simple way to store key-value data in our app. We can use this to save different data such as auth tokens, user IDs, etc.@apollo/clientis a package that allows us to easily connect your app to a GraphQL server (Lens API).graphqlis a query language for APIs that works seamlessly with@apollo/client.@livepeer/react-nativeis a package that provides components and hooks to make it easier to work with Livepeer's video infrastructure in our React Native app.@react-navigation/nativeis a library for implementing navigation in React Native appsreact-native-screensprovides an easy way for managing screens and transitions in React Native appsreact-native-safe-area-contextis used for handling safe area insets in our app@react-navigation/material-bottom-tabsis a package for implementing bottom-tab navigation in our appexpo-media-libraryis used for accessing and managing media assets (such as videos) on a user's device
Yeah, I know the list is pretty long. But hey, we gotta have all these libraries for our app to work smoothly. I mean, we are building a Tiktok clone, so we gotta make sure it's on point!
Setting up the navigation
Now we can move forward and add navigation to our app. We will be using react-navigation which is a widely used navigation library for react native apps.
To get started, create a new folder called screens inside the root directory of the project. Then, create a new file inside that folder called Login.js. For now, you can add the simple code snippet below to the Login.js file, which will just display the words Login Screen:
import { StyleSheet, Text, View } from 'react-native'
import React from 'react'

export default function Login() {
    return (
        <View style={styles.container}>
            <Text>Login Screen</Text>
        </View>
    )
}

const styles = StyleSheet.create({
    container: {
        flex: 1,
        justifyContent: "center",
        backgroundColor: "#fff",
        alignItems: "center"
    }
})
Next, create a new file called routes.js in the root directory and add the code below to it. This code imports the Login screen we just created and adds it to the navigation container:
import { NavigationContainer } from '@react-navigation/native';
import { createStackNavigator } from '@react-navigation/stack';
import Login from './screens/Login';

const Stack = createStackNavigator();

function Routes() {
    return (
        <NavigationContainer>
            <Stack.Navigator
                screenOptions={{
                    headerShown: false
                }}
            >
                <Stack.Screen name="Login" component={Login} />
            </Stack.Navigator>
        </NavigationContainer>
    );
}
export default Routes;
Finally, replace the existing code inside app.js with the following code to import and define the route file
import React from 'react'
import Routes from './routes'

export default function App() {
  return (
    <Routes />
  )
}
With these steps, we've set up a basic navigation structure for our app, and we can now easily add more screens and navigation options as needed.
Setting up GraphQL Client
Let's now set up our GraphQL client which will allow us to interact with Lens API. We'll be using Apollo GraphQL, a popular and efficient way to set up a GraphQL client.
GraphQL is an open-source query language that offers flexible and user-friendly syntax to describe data requirements and interactions. As an alternative to REST, you can create GraphQL requests that include data from various sources from a single API call.
To get started, create a new folder named clients inside the root directory. Inside the clients folder, create a new file named apollo.js and add the following code to this file:
import { ApolloClient, InMemoryCache } from "@apollo/client";

const APClient = new ApolloClient({
    link: "https://api-mumbai.lens.dev",
    cache: new InMemoryCache(),
});

export default APClient;
https://api-mumbai.lens.devis the Lens API for the test net, you can usehttps://api.lens.dev/for the main net. For more information, refer Lens docs.
Setting up Livepeer
Livepeer is a decentralized video processing network and developer platform which you can use to build video applications. It is very fast, easy to integrate and cheap. In this tutorial, we will be using Livepeer to upload videos and play them back.
As mentioned earlier, Livepeer will be used as the video infrastructure in our application. It automatically transcodes and serves the videos that users upload for seamless playback.
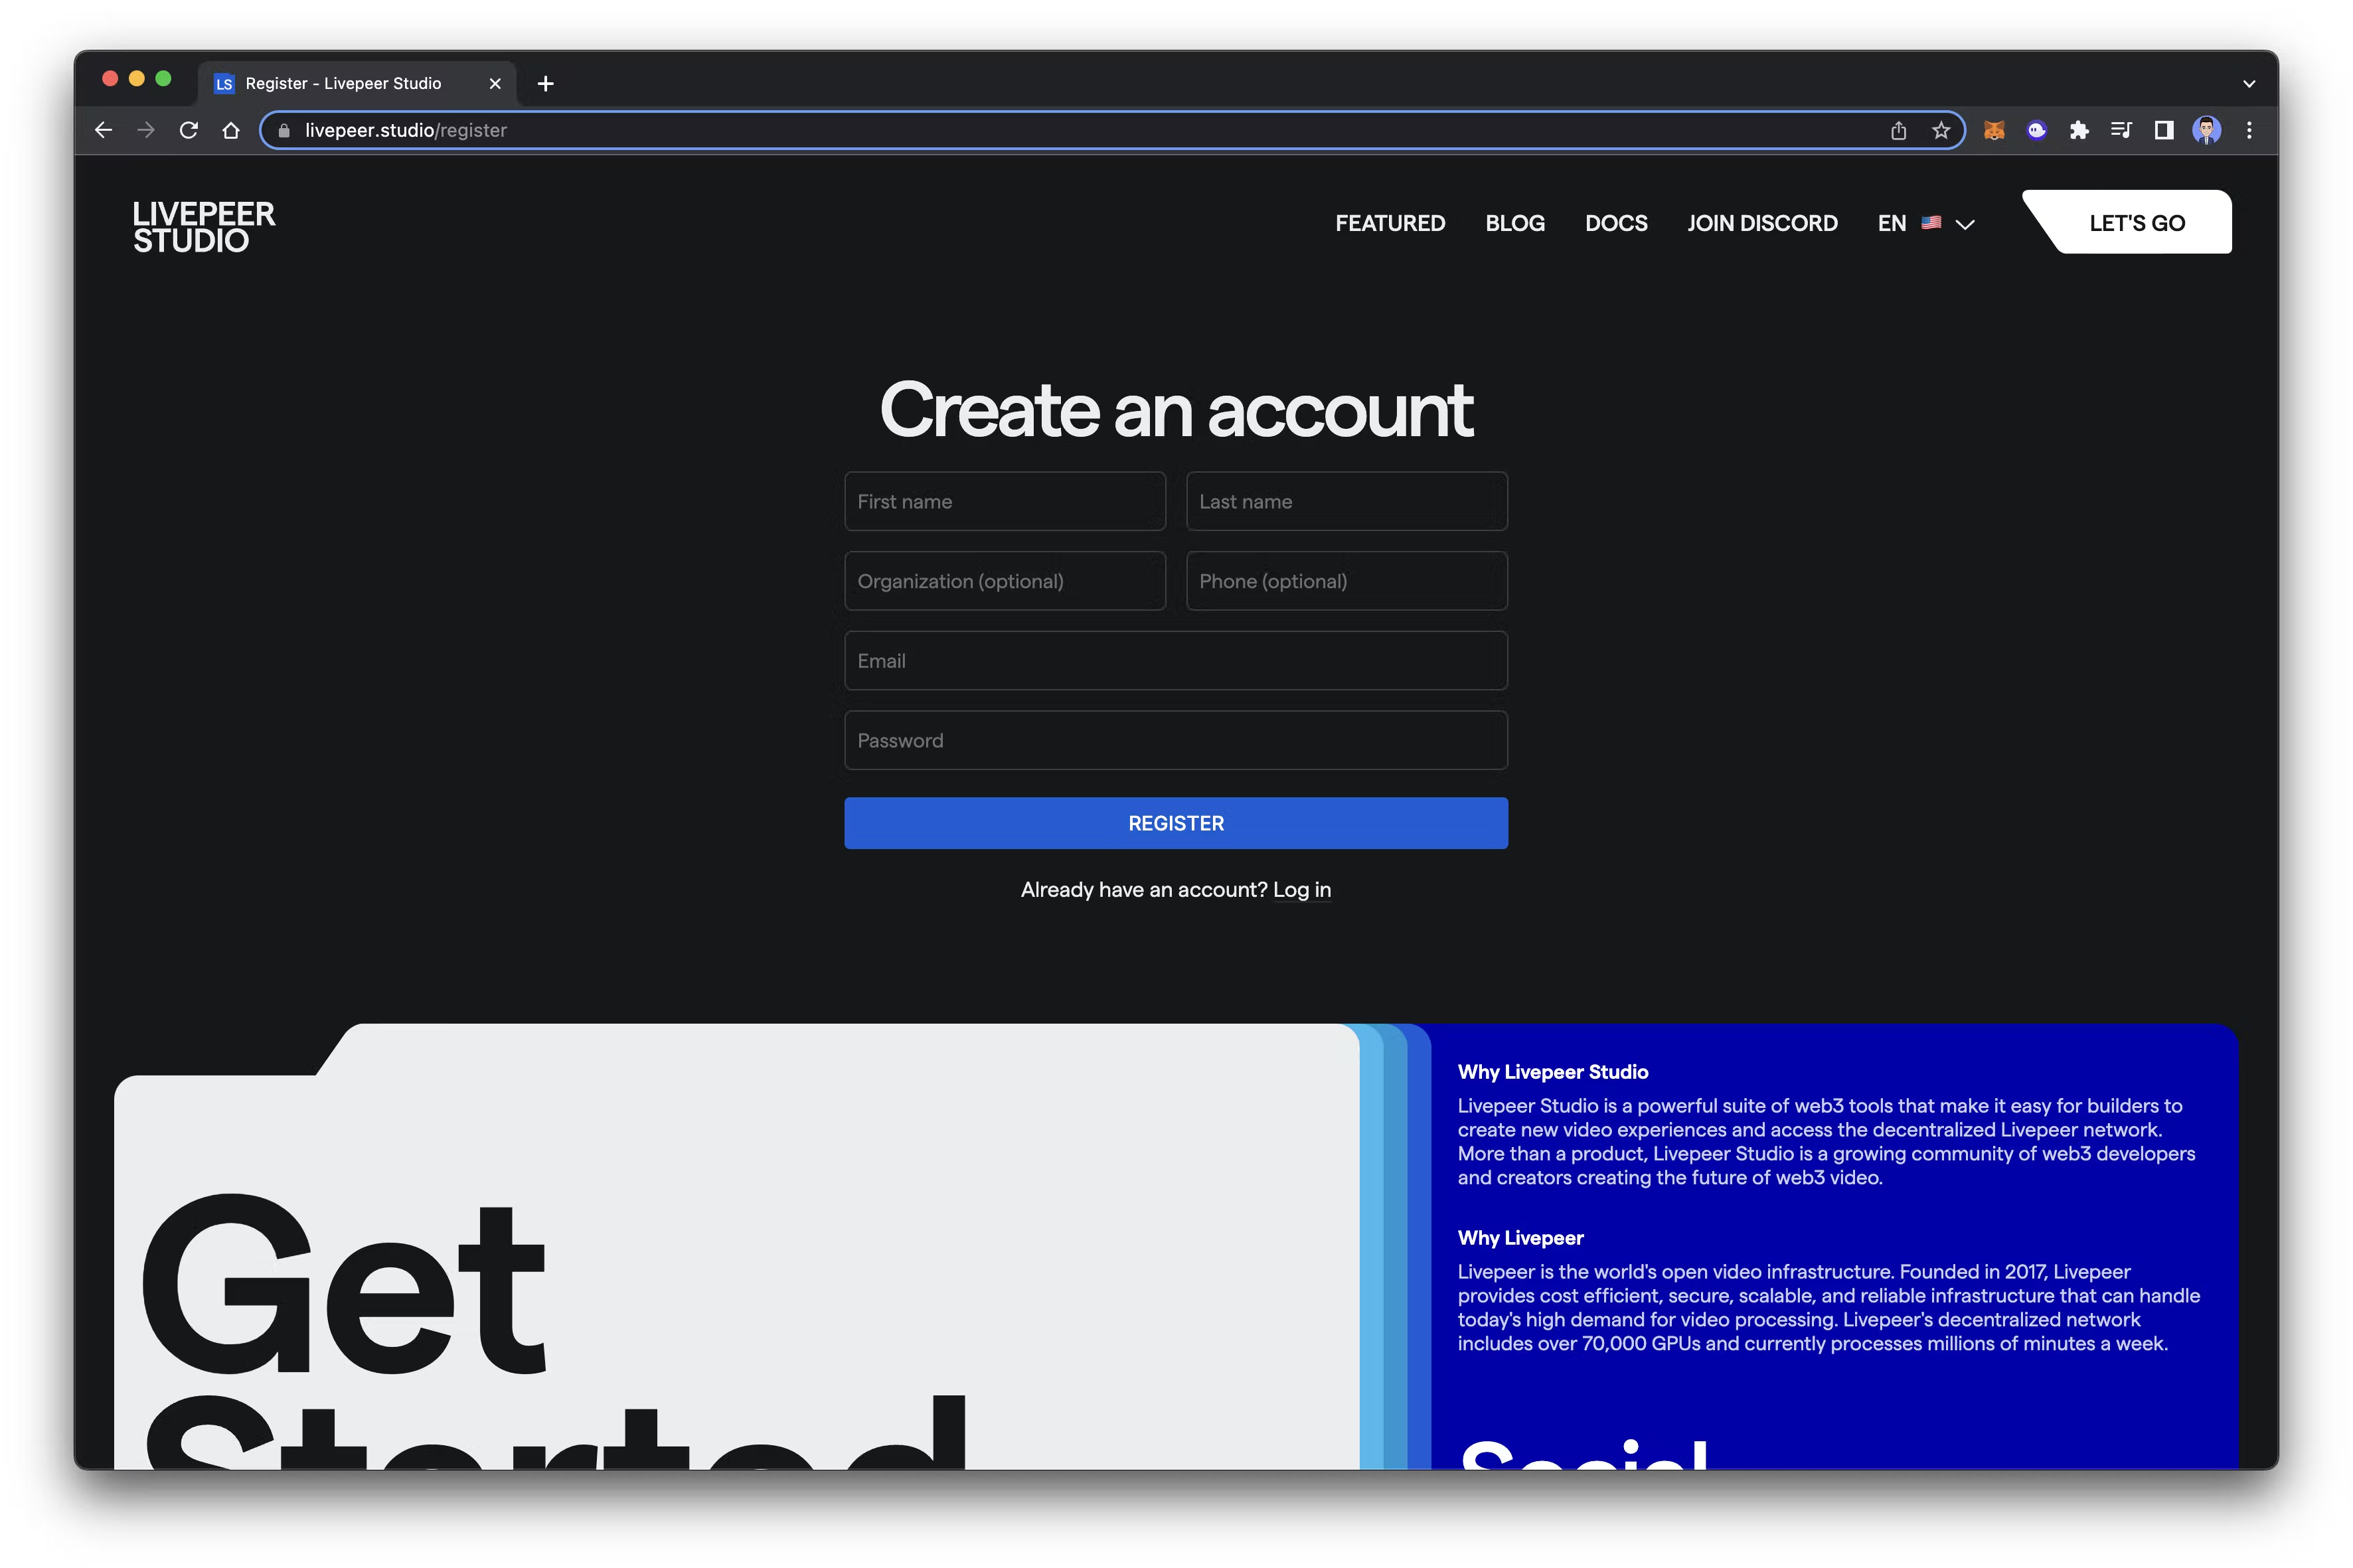
Navigate to https://livepeer.studio/register and create a new account on Livepeer Studio.
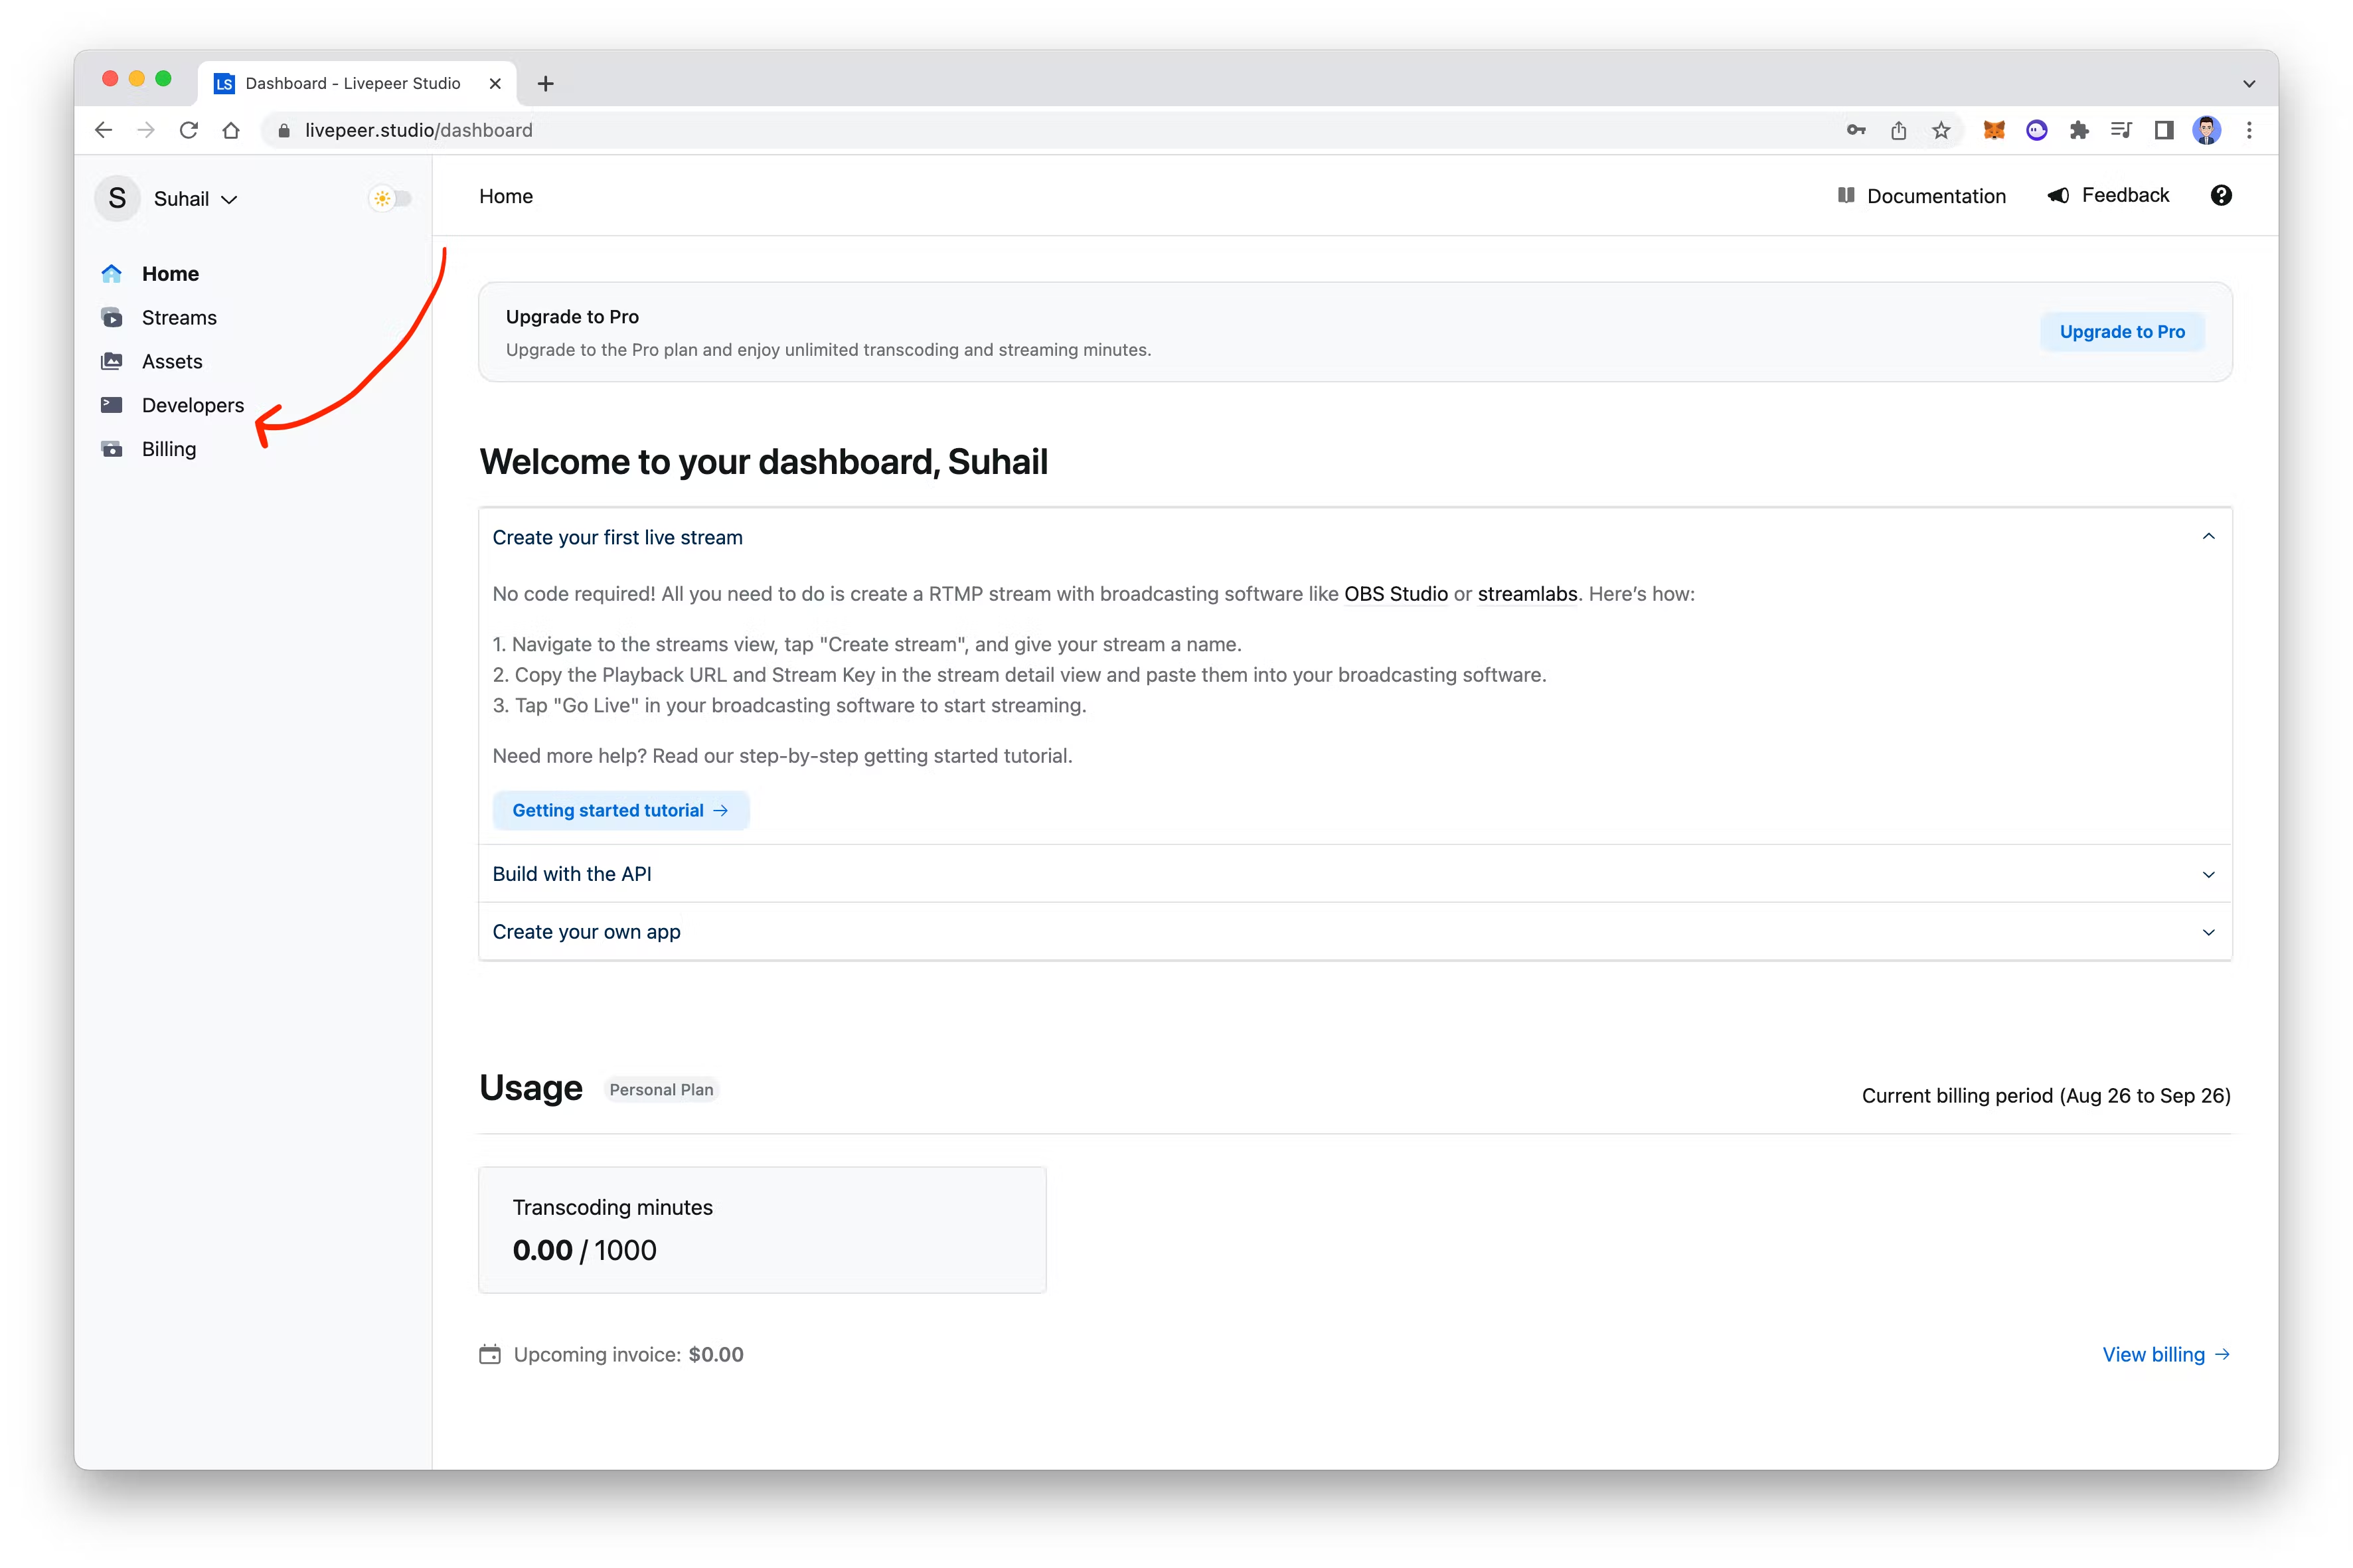
Once you have created an account, in the dashboard, click on the Developers on the sidebar.
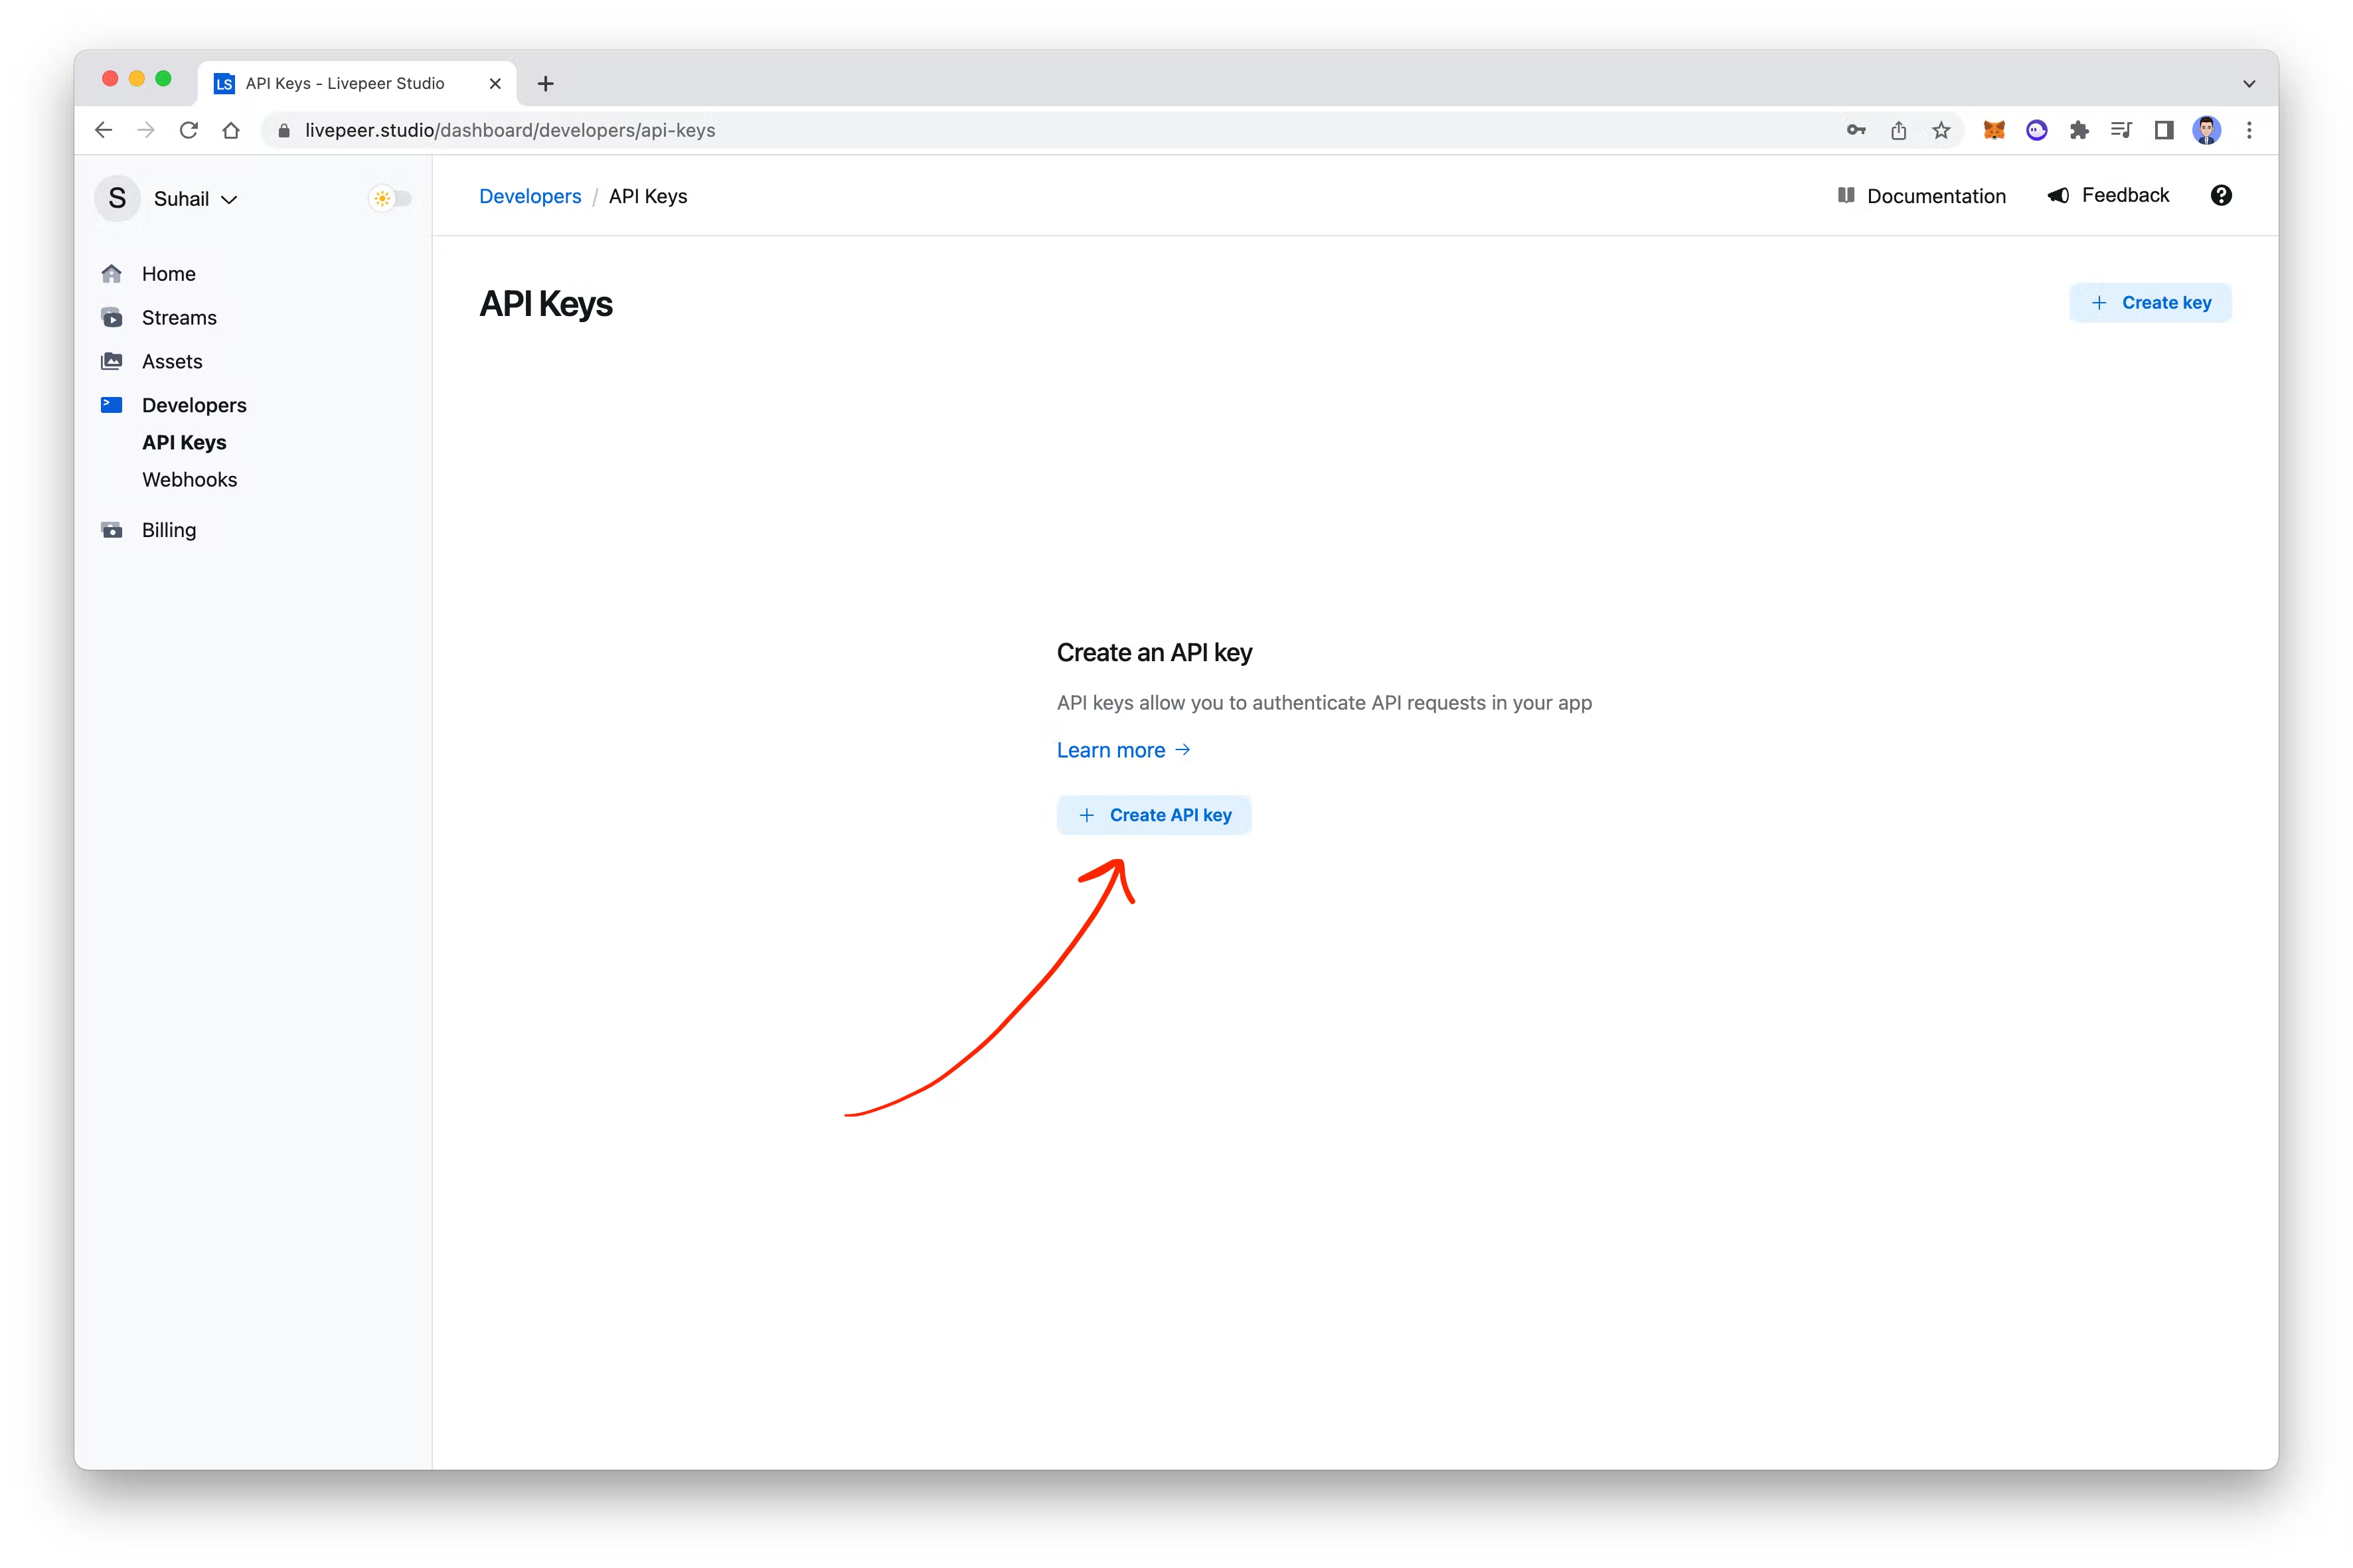
Then, click on Create API Key, give a name to your key and then copy it as we will need it later.
Livepeer.js is a JavaScript SDK with ready-to-use hooks that allows us to quickly upload videos, serve videos and connect to Livepeer Studio.
Then, create a new file named livepeer.js inside the clients folder you created earlier, and add the following code to it:
import { createReactClient } from "@livepeer/react";
import { studioProvider } from "livepeer/providers/studio";

const LPClient = createReactClient({
  provider: studioProvider({ apiKey: "API_KEY" }),
});

export default LPClient;
The above code is a client that we'll use to interact with Livepeer. Don't forget to replace API_KEY with the key you copied from the Livepeer dashboard.
Setting up WalletConnect
WalletConnect is an open-source protocol that allows your wallet to connect and interact with DApps and other wallets. In this tutorial, we will use WalletConnect to allow users to connect their wallets and verify their ownership.
In the app.js file, import the WalletConnect provider and wrap your application inside of it:
import React from 'react'
import Routes from './routes'
import WalletConnectProvider from "react-native-walletconnect";

export default function App() {
  return (
    <WalletConnectProvider>
      <Routes />
    </WalletConnectProvider>
  )
}
Setting up the Clients
We have added two clients, Apollo GraphQL and Livepeer. Next, we need to add these two into our app.js
Similar to wallet connect, you just need to wrap the routes with these clients. You can replace inside app.js with the below code
import React from 'react'
import Routes from './routes'
import WalletConnectProvider from "react-native-walletconnect";
import { LivepeerConfig } from '@livepeer/react-native';
import LPClient from './clients/livepeer';
import { ApolloProvider } from '@apollo/client';
import APClient from './clients/apollo';

export default function App() {
  return (
    <WalletConnectProvider>
      <ApolloProvider client={APClient}>
        <LivepeerConfig client={LPClient}>
          <Routes />
        </LivepeerConfig>
      </ApolloProvider>
    </WalletConnectProvider>
  )
}
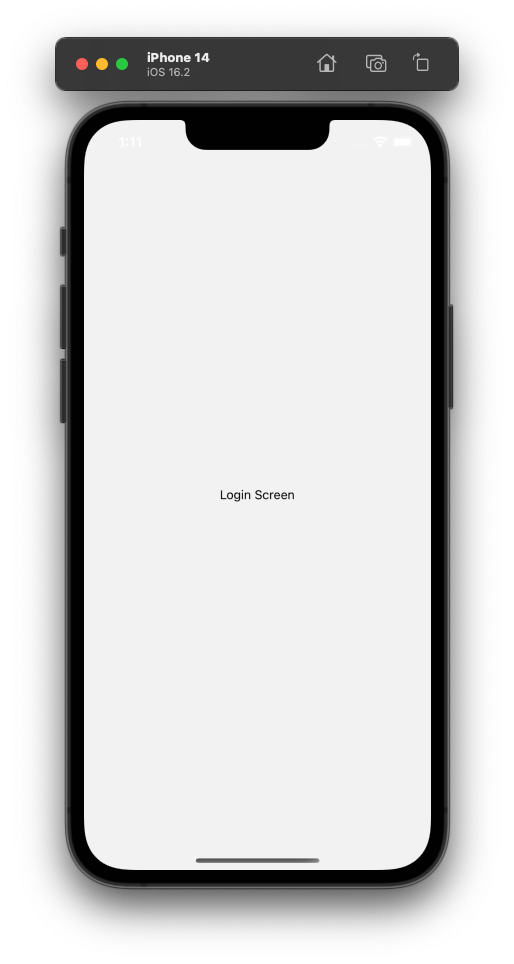
Now it's time to see our app in action! Open your terminal and type npx expo start to start the development server. You can run the app on an iOS simulator (if you have a Mac), an Android emulator, or on your own device. Once you've selected your preferred device, the Expo CLI will launch the app on your device/simulator. You should now see the app running on your device, looking similar to this:
Phew, that was a lot to set up, but we're just getting started. So, let's move on to the authentication part.
Authentication
Now, it is time to add authentication to our app. This involves a series of steps, including connecting the user's wallet, getting a message from Lens API, signing the message with the user's wallet, and sending it back to Lens API for verification, and if everything is successful, we will get access token and verify the token which we will save to your device.
Connecting user wallet
To allow users to connect their wallets to our application, we will be using react-native-walletconnect. Remove everything inside of Login.js file and instead adding the following code.
import { Pressable, StyleSheet, Text, TextBase, View } from 'react-native'
import React from 'react'
import { StatusBar } from 'expo-status-bar';
import { useWalletConnect } from "react-native-walletconnect";

export default function Login() {
    const {
        createSession,
        killSession,
        session,
        signPersonalMessage,
    } = useWalletConnect();

    return (
        <View style={styles.container}>
            <StatusBar />
            <Text style={styles.text}>Sign up for TikTok</Text>
            <Pressable
                onPress={createSession}
                style={styles.button}>
                <Text style={styles.buttonText}>
                    Connect your wallet
                </Text>
            </Pressable>
            <Text style={styles.footer}>
                Connecting your wallet & siging message, simply proves ownership of the wallet. Signing message doesn't initiate any transaction on the blockchain
            </Text>
        </View>
    )
}

const styles = StyleSheet.create({
    container: {
        flex: 1,
        backgroundColor: "#fff",
        paddingTop: 50,
        paddingLeft: 30,
    },
    text: {
        fontSize: 40,
        fontWeight: "700",
        width: "50%",
        lineHeight: 50,
        marginTop: 50,
    },
    button: {
        borderWidth: 1,
        width: "90%",
        marginTop: 50,
        padding: 15,
        borderColor: "#ccc",
        alignItems: "center"
    },
    buttonText: {
        fontWeight: "600",
    },
    footer: {
        position: "absolute",
        bottom: 50,
        marginLeft: 30,
        textAlign: "center",
        color: "#aaa",
    }
})
In the above code,
We imported various React Native and WalletConnect libraries, such as
Pressable,StyleSheet,Text,View, anduseWalletConnect.Next, inside the component,
useWalletConnecthook is used to create a session, kill a session, get the current session, and sign a transaction.The main
Logincomponent returns aViewthat contains aTextcomponent displaying the "Sign up for TikTok" header, aPressablecomponent that triggers thecreateSessionfunction when clicked, and aTextcomponent displaying a message about the purpose of connecting a wallet and signing a message.The
StyleSheetobject is used to style the components, including setting the background color, font size, and positioning of the text and buttons.'Finally, the
StatusBarcomponent from theexpo-status-barlibrary is used to display a status bar at the top of the screen.
Once you've finished editing the file, save it and you should see a nice-looking clean login screen:
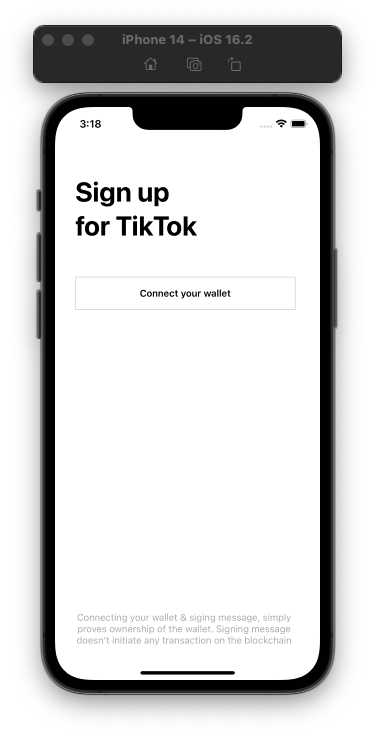
If you click on the "Connect Your Wallet" button, a little window will pop up that lets you choose from different wallet options. This is how you can connect your wallet to the app.
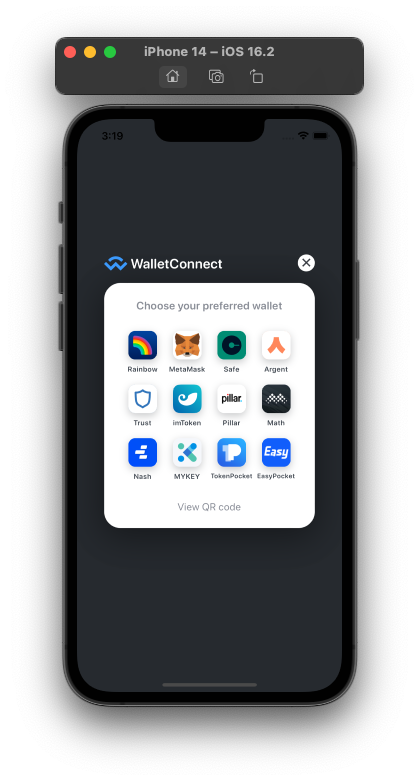
After you click on a wallet option in the pop-up window, you'll be redirected to that wallet app to complete the connection process. This is how the app knows that you're the owner of the wallet.
Now that we are completed the connecting wallet part, we can move on to the next step which will sign a message with the user wallet and verify it with Lens API
Signing the message
Now that users have connected their wallet and we have their wallet address, we can continue to sign in part.
Add the following code before the return statement:
  const signMessage = async () => {
    const response = await client.query({
      query: gql`query Challenge {
        challenge(request: { address: "${address}" }) {
          text
        }
      }`,
    });
    let challenge = convertUtf8ToHex(response.data.challenge.text);
    const msgParams = [challenge, address];
    connector.signPersonalMessage(msgParams).then(async (result) => {
      getTokens(result);
    });
  };


  const getTokens = async (result) => {
    const response = await client.mutate({
      mutation: gql`mutation Authenticate {
        authenticate(request: {
          address: "${address}",
          signature: "${result}"
        }) {
          accessToken
          refreshToken
        }
      }`,
    });
    await saveItem("accessToken", response.data.authenticate.accessToken);
    await saveItem("refreshToken", response.data.authenticate.refreshToken);

  };
Here, we are:
First, we define an asynchronous function called
signMessage. This function makes a query to a Lens API and requests for a challenge string that the user must sign with their private key to prove their identity. The query returns the challenge stringNext, the
signPersonalMessagemethod from awallet-connectlibrary with the challenge string and the user's address as parameters. This method uses the user's wallet to sign the message and returns a result. ThegetTokensfunction is then called with this result.The
getTokensfunction sends a mutation request to the server using the and request includes the user's address and the signature generated by thesignPersonalMessagemethod. The server verifies the signature and if it's valid, it returns an access token and a refresh token. These tokens are then stored locally using the Async Storage.
Home
Now that we're done with the authentication, let's move on to the home screens. First, we need to create a screen for the home. Go to the screens folder and create a new file called Home.js. Inside it, add this simple component:
import { StyleSheet, Text, View } from 'react-native'
import React from 'react'

export default function Home() {
    return (
        <View style={styles.container}>
            <Text>Home Screen</Text>
        </View>
    )
}

const styles = StyleSheet.create({
    container: {
        flex: 1,
        justifyContent: "center",
        backgroundColor: "#fff",
        alignItems: "center"
    }
})
Next, let's set up the bottom tabs.
Setting up Bottom Tabs
First, download the icons from the GitHub repo and add them to the assets folder. Then create a new folder called components, and inside it, create a new file called BottomTabs.js.
import { Image, StyleSheet } from "react-native";
import React from "react";

import { createBottomTabNavigator } from "@react-navigation/bottom-tabs";
import Home from "../screens/Home";

const BottomTab = createBottomTabNavigator();

export default function BottomTabs() {
    return (
        <BottomTab.Navigator
            screenOptions={{
                tabBarStyle: { backgroundColor: "black", borderWidth: 0 },
                headerShown: false,
                tabBarActiveTintColor: "white",
            }}
        >
            <BottomTab.Screen
                name="Home"
                component={Home}
                options={{
                    tabBarIcon: ({ focused }) => (
                        <Image
                            source={require("../assets/home.png")}
                            style={[
                                styles.bottomTabIcon,
                                focused && styles.bottomTabIconFocused,
                            ]}
                        />
                    ),
                }}
            />
            <BottomTab.Screen
                name="Discover"
                component={Home}
                options={{
                    tabBarIcon: ({ focused }) => (
                        <Image
                            source={require("../assets/search.png")}
                            style={[
                                styles.bottomTabIcon,
                                focused && styles.bottomTabIconFocused,
                            ]}
                        />
                    ),
                }}
            />
            <BottomTab.Screen
                name="NewVideo"
                component={Home}
                options={{
                    tabBarLabel: () => null,
                    tabBarIcon: ({ focused }) => (
                        <Image
                            source={require("../assets/new-video.png")}
                            style={[
                                styles.newVideoButton,
                                focused && styles.bottomTabIconFocused,
                            ]}
                        />
                    ),
                }}
            />
            <BottomTab.Screen
                name="Inbox"
                component={Home}
                options={{
                    tabBarIcon: ({ focused }) => (
                        <Image
                            source={require("../assets/message.png")}
                            style={[
                                styles.bottomTabIcon,
                                focused && styles.bottomTabIconFocused,
                            ]}
                        />
                    ),
                }}
            />
            <BottomTab.Screen
                name="Profile"
                component={Home}
                options={{
                    tabBarIcon: ({ focused }) => (
                        <Image
                            source={require("../assets/user.png")}
                            style={[
                                styles.bottomTabIcon,
                                focused && styles.bottomTabIconFocused,
                            ]}
                        />
                    ),
                }}
            />
        </BottomTab.Navigator>
    );
}

const styles = StyleSheet.create({
    bottomTabIcon: {
        width: 20,
        height: 20,
        tintColor: "grey",
    },
    bottomTabIconFocused: {
        tintColor: "white",
    },
    newVideoButton: {
        width: 50,
        height: 25,
    },
});
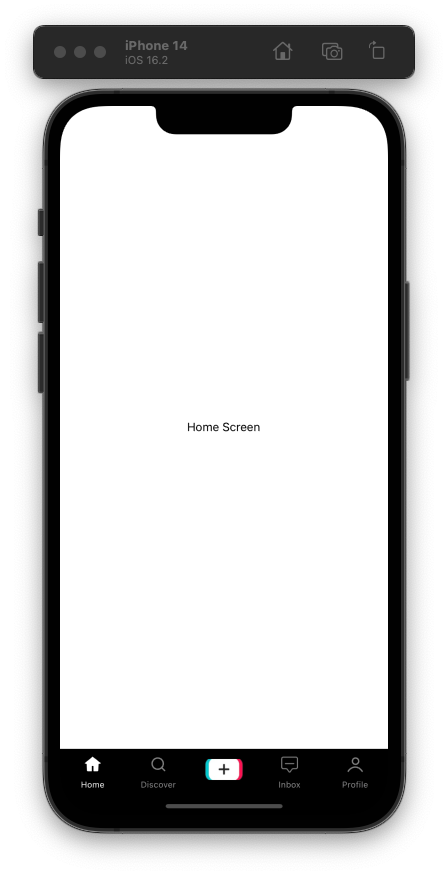
In the above file, we have created a Bottom Tabs navigation similar to Tiktok, using the @react-navigation/bottom-tabs library. We have also added custom icons to the bottom tabs, making them look exactly the same as TikTok.
To use the Bottom Tabs navigation, we need to add it to our routes.js file. After completing the authentication process, we want to redirect the user to the home screen with the Bottom Tabs navigation.
Save the file and then add the Bottom Tabs after the Login in the routes.js file. Here is the updated routes.js file with the Bottom Tabs navigation:
//... <Stack.Screen name="Login" component={Login} />
<Stack.Screen name="Home" component={BottomTabs} />
Now, when the user successfully logs in, they will be redirected to the Home screen, which includes the Bottom Tabs navigation.
Fetching videos from Lens
Next, create a new file named queries.js in the root directory and for now add the explore posts query to it.
import { gql } from "@apollo/client";
export const EXPLORE_POSTS = gql`
  query ($request: ExplorePublicationRequest!) {
    explorePublications(request: $request) {
      items {
        __typename
        ... on Post {
          ...PostFields
        }
      }
      pageInfo {
        prev
        next
        totalCount
      }
    }
  }
  fragment MediaFields on Media {
    url
    width
    height
    mimeType
  }
  fragment ProfileFields on Profile {
    id
    name
  }
  fragment PublicationStatsFields on PublicationStats {
    totalAmountOfMirrors
    totalUpvotes
    totalAmountOfCollects
    totalAmountOfComments
  }
  fragment MetadataOutputFields on MetadataOutput {
    name
    description
    content
    media {
      original {
        ...MediaFields
      }
      small {
        ...MediaFields
      }
      medium {
        ...MediaFields
      }
    }
  }

  fragment PostFields on Post {
    id
    profile {
      ...ProfileFields
    }
    stats {
      ...PublicationStatsFields
    }
    metadata {
      ...MetadataOutputFields
    }
    createdAt
  }
`;
Back, in the home.js replace everything inside of the file with the below code:
import { FlatList, StyleSheet, View, Text, Dimensions } from "react-native";
import React, { useState } from "react";
import { EXPLORE_POSTS } from "../queries";
import { useQuery } from "@apollo/client";
import { useBottomTabBarHeight } from "@react-navigation/bottom-tabs";

export default function Home() {
    const [activeVideoIndex, setActiveVideoIndex] = useState(0);

    const bottomTabHeight = useBottomTabBarHeight();
    const { height: WINDOW_HEIGHT } = Dimensions.get("window");
    const { data } = useQuery(EXPLORE_POSTS, {
        variables: {
            request: {
                limit: 5,
                sources: ["lenstube-bytes"],
                publicationTypes: ["POST"],
                sortCriteria: "CURATED_PROFILES",
            },
        },
    });

    const pageInfo = data?.explorePublications?.pageInfo;
    const videos = data?.explorePublications?.items;

    return (
        <View style={styles.container}>
            <FlatList
                data={videos}
                pagingEnabled
                renderItem={({ item, index }) => <Text>{item.metadata.content}</Text>}
                onScroll={(e) => {
                    const index = Math.round(
                        e.nativeEvent.contentOffset.y / (WINDOW_HEIGHT - bottomTabHeight)
                    );
                    setActiveVideoIndex(index);
                }}
            />
        </View>
    );
}

const styles = StyleSheet.create({
    container: {
        flex: 1,
        justifyContent: "center",
        backgroundColor: "#fff",
        alignItems: "center",
    },
});
In the above code,
First, we are importing several components and libraries, including
FlatList,StyleSheet,View,Text,Dimensions, anduseStatefrom React and React Native, as well asuseQueryanduseBottomTabBarHeightfrom Apollo Client and React Navigation, respectively.The
Homefunction is the main component that is exported. It includes theuseStatehook to create a state variable calledactiveVideoIndex, which is initially set to 0. This variable is used to keep track of the index of the currently active video in the list of videos that will be rendered later.The
useBottomTabBarHeighthook is used to get the height of the bottom tab bar in the current navigation stack. This value is stored in thebottomTabHeightvariable.The
useQueryhook is used to fetch data from theEXPLORE_POSTSquery, which is defined earlier. Thevariablesoption is used to specify the parameters of the query, including the limit, sources, publication types, and sort criteria.The
datavariable is used to store the data that is returned by the query. ThepageInfoandvideosvariables are extracted from thedataobject using the optional chaining operator (?). ThepageInfovariable contains information about the current page of videos, while thevideosvariable contains an array of video objects.Finally, a
FlatListcomponent is rendered, which displays the list of videos. Thedataprop is set to thevideosarray, and therenderItemprop is used to specify how each item in the list should be rendered. In this case, each video is rendered as aTextcomponent that displays themetadataproperty of the video.The
onScrollprop is used to handle scrolling events in theFlatList. When the user scrolls the list, theonScrollfunction is called with an event object. This function uses theMath.roundmethod to calculate the index of the video that is currently visible based on thecontentOffsetand theWINDOW_HEIGHTandbottomTabHeightvariables. This index is then used to update theactiveVideoIndexstate variable.
Save the file, and as you can see for now we are just rending the metadata of the video.
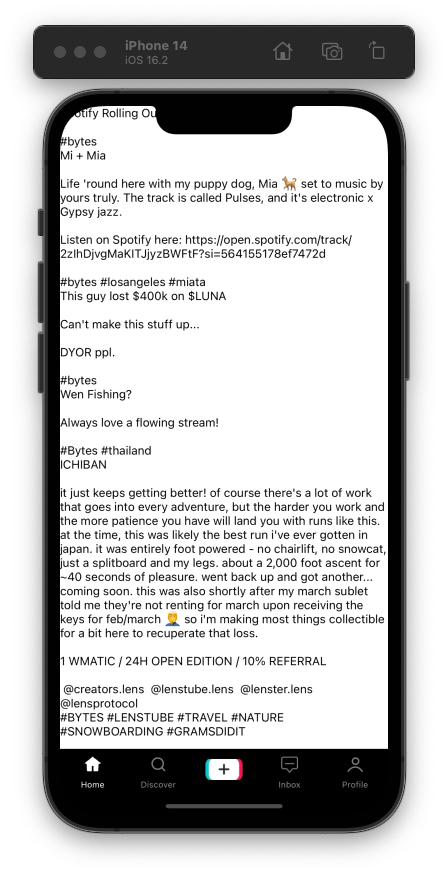
Let's create a video player component and then render it inside of the Flatlist.
Adding the Video Player
Inside the components directory, create a new file named VideoPlayer.js and add the following code to it.
import React from "react";
import { Image, StatusBar, StyleSheet, Text, View } from "react-native";
import { useBottomTabBarHeight } from "@react-navigation/bottom-tabs";
import { Player } from "@livepeer/react-native";

export default function VideoPlayer({ data, isActive }) {
    const bottomTabHeight = useBottomTabBarHeight();
    const statusBarHeight = StatusBar.currentHeight || 0;

    const getIPFSLink = (hash) => {
        const gateway = "https://lens.infura-ipfs.io/ipfs/";

        return hash
            .replace(/^Qm[1-9A-Za-z]{44}/gm, `${gateway}${hash}`)
            .replace("https://ipfs.io/ipfs/", gateway)
            .replace("ipfs://", gateway);
    };

    return (
        <View
            style={[
                styles.container,
                { height: WINDOW_HEIGHT - bottomTabHeight - statusBarHeight },
            ]}
        >
            <StatusBar barStyle={"light-content"} />
            <Player
                src={getIPFSLink(data.metadata.media[0].original.url)}
                priority
                aspectRatio={"16:9"}
                loop
                autoplay={isActive}
            />
            <View style={styles.bottomSection}>
                <View style={styles.bottomLeftSection}>
                    <Text style={styles.channelName}>{data.profile.name}</Text>
                    <Text style={styles.caption}>{data.metadata.name}</Text>
                </View>
                <View style={styles.bottomRightSection}>
                    <Image
                        source={require("../assets/floating-music-note.png")}
                        style={[styles.floatingMusicNote]}
                    />
                    <Image
                        source={require("../assets/disc.png")}
                        style={[styles.musicDisc]}
                    />
                </View>
            </View>

            <View style={styles.verticalBar}>
                <View style={[styles.verticalBarItem, styles.avatarContainer]}>
                    <Image
                        style={styles.avatar}
                        source={{
                            uri: getIPFSLink(data.profile.picture.original.url),
                        }}
                    />
                    <View style={styles.followButton}>
                        <Image
                            source={require("../assets/plus-button.png")}
                            style={styles.followIcon}
                        />
                    </View>
                </View>
                <View style={styles.verticalBarItem}>
                    <Image
                        style={styles.verticalBarIcon}
                        source={require("../assets/heart.png")}
                    />
                </View>
                <View style={styles.verticalBarItem}>
                    <Image
                        style={styles.verticalBarIcon}
                        source={require("../assets/message-circle.png")}
                    />
                </View>
                <View style={styles.verticalBarItem}>
                    <Image
                        style={styles.verticalBarIcon}
                        source={require("../assets/reply.png")}
                    />
                </View>
            </View>
        </View>
    );
}

const styles = StyleSheet.create({
    container: {
        width: WINDOW_WIDTH,
    },
    video: {
        position: "absolute",
        width: "100%",
        height: "100%",
    },
    bottomSection: {
        position: "absolute",
        bottom: 0,
        flexDirection: "row",
        width: "100%",
        paddingHorizontal: 8,
        paddingBottom: 16,
    },
    bottomLeftSection: {
        flex: 4,
    },
    bottomRightSection: {
        flex: 1,
        justifyContent: "flex-end",
        alignItems: "flex-end",
    },
    channelName: {
        color: "white",
        fontWeight: "bold",
    },
    caption: {
        color: "white",
        marginVertical: 8,
    },
    musicNameContainer: {
        flexDirection: "row",
        alignItems: "center",
    },
    musicNameIcon: {
        width: 12,
        height: 12,
        marginRight: 8,
    },
    musicName: {
        color: "white",
    },
    musicDisc: {
        width: 40,
        height: 40,
    },
    verticalBar: {
        position: "absolute",
        right: 8,
        bottom: 72,
    },
    verticalBarItem: {
        marginBottom: 24,
        alignItems: "center",
    },
    verticalBarIcon: {
        width: 32,
        height: 32,
    },
    verticalBarText: {
        color: "white",
        marginTop: 4,
    },
    avatarContainer: {
        marginBottom: 48,
    },
    avatar: {
        width: 48,
        height: 48,
        borderRadius: 24,
    },
    followButton: {
        position: "absolute",
        bottom: -8,
    },
    followIcon: {
        width: 21,
        height: 21,
    },
    floatingMusicNote: {
        position: "absolute",
        right: 40,
        bottom: 16,
        width: 16,
        height: 16,
        tintColor: "white",
    },
});
First, we are importing necessary components from the React Native library, as well as some third-party libraries such as
@react-navigation/bottom-tabsand@livepeer/react-native.The component takes in two props,
dataandisActive. Next, Inside the component, we use a hook from@react-navigation/bottom-tabsto get the height of the bottom tab bar, and theStatusBar.currentHeightproperty to get the height of the status bar.We also defines a helper function called
getIPFSLinkthat takes in a hash and returns a link to an IPFS gateway (Infura).Inside the return statement, the
Viewcomponent is then used to create a container that holds all the components to be rendered on the screen. The height of the container is adjusted by subtracting the height of the bottom tab bar and the status bar from the height of the window.The
StatusBarcomponent is used to set the color of the status bar to white.The
Playercomponent from@livepeer/react-nativeis used to render the video player on the screen. The source of the video is the first media item from thedata.metadataobject. The player is set to play on loop and autoplay when theisActiveprop is true.The rest of the components rendered in the
Viewcontainer are some text and image components that display the profile name, caption, and icons for various actions such as liking, commenting, and following. Finally, we also define some styles using theStyleSheet.createmethod.
Back to home.js, import the VideoPlayer component and replace the FlatList renderItem property with the it.
    <FlatList
                data={videos}
                pagingEnabled
                renderItem={({ item, index }) => (
                    <VideoPlayer data={item} isActive={activeVideoIndex === index} />
                )}
                onScroll={(e) => {
                    const index = Math.round(
                        e.nativeEvent.contentOffset.y / (WINDOW_HEIGHT - bottomTabHeight)
                    );
                    setActiveVideoIndex(index);
                }}
            />
Save the file and you should see a video player with the video information. That looks very similar to TikTok.
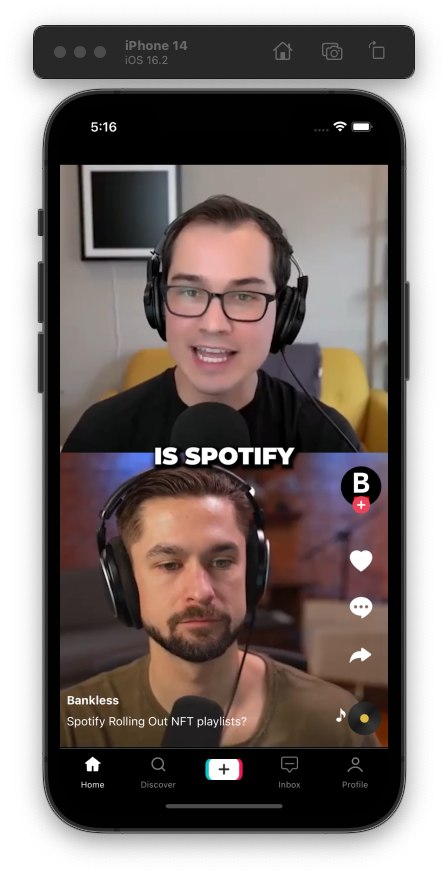
Upload
Now, it is time to work on the upload video process. The upload process would be:
First, the user selects a video from the library.
Then, we upload that video to Livepeer.
After that, we save the metadata to IPFS.
Finally, we post the IPFS CID for the metadata to Lens API.
Before that create a new file named "upload.js" in the "screens" folder of your React Native project. And for now, you can add the following code to it:
import { StyleSheet, Text, View } from 'react-native'
import React from 'react'

export default function Home() {
    return (
        <View style={styles.container}>
            <Text>Home Screen</Text>
        </View>
    )
}

const styles = StyleSheet.create({
    container: {
        flex: 1,
        justifyContent: "center",
        backgroundColor: "#fff",
        alignItems: "center"
    }
})
Uploading video to Livepeer
The first step is to allow the user to select a video from the library. Inside the upload screen, create a function named pickVideo that will allow the user to select a video from their device's media library and add the following code to it:
const pickVideo = async () => {
  const { status } = await requestMediaLibraryPermissionsAsync();
  if (status !== "granted") {
    alert("Sorry, we need camera roll permissions to make this work!");
    return;
  }
  const result = await launchImageLibraryAsync({
    mediaTypes: MediaTypeOptions.Videos,
    allowsEditing: true,
  });
  if (!result.cancelled) {
    setVideo(result);
  }
};
Here we are using the expo-media-library to select videos and then set the video state to the result. Now that we have the video, we can use Livepeer SDK to upload these videos to Livepeer Studio.
We can just add the following hook to the top of the file and then pass the video to it
  const {
    mutate: createAsset,
    progress,
    error,
  } = useCreateAsset({
    sources: [{ name: "video", file: media }],
  });
Next, you can add this video to the Lens metadata and then we can use it to playback the video from the Livepeer.
Saving metadata to IPFS
Once you have the metadata object ready, you can use any ipfs services or Arweave to upload the metadata. In this tutorial, we will be using IPFS. Add the following function after the pick video function:
const saveToIPFS = async (body: any) => {
  var config = {
    method: "post",
    url: "",
    data: body,
  };

  const response = await axios(config);
  return response.data.cid;
};
Posting the metadata to Lens API
Now that we also have the IPFS CID, we can use it to post the metadata to Lens API. Add the following query to the queries file:
export const CreatePostViaDispatcher = gql`
  mutation CreatePostViaDispatcher($request: CreatePublicPostRequest!) {
    createPostViaDispatcher(request: $request) {
      ... on RelayerResult {
        txHash
        txId
      }
      ... on RelayError {
        reason
      }
    }
  }
`;
Then, inside of the upload.js screen, you can use useMutation to post the metadata to Lens API:
  const [createPostViaDispatcher] = useMutation(CreatePostViaDispatcher, {
    onCompleted: (data) => {
      if (data.createPostViaDispatcher.__typename === "RelayerResult") {
        generateOptimisticPost(data.createPostViaDispatcher);
      }
    },
  });
What’s Next?
So, you've made it this far! That's awesome and it tells me that you're enthusiastic about creating Web3 apps. Now, if you're feeling up for it, I have some ideas on how you can take your app to the next level:
How about giving users the ability to search for other users and videos? It could make your app more user-friendly and convenient.
You could also experiment with using Arweave instead of IFPS and see how that affects your app's performance.
If you're looking to make your app more comprehensive, why not add some extra screens such as a user profile section? This could give your app more depth and allow users to personalize their experience.
And finally, if you want to get your app ready for prime time, don't forget to make the like and comment buttons actually work! Adding these functionalities will make your app more engaging and keep users coming back for more.
These are just a few ideas, but the possibilities are endless. Don't be afraid to get creative and have fun with it!
Conclusion
That is it for this article. I hope you found this article useful, if you need any help please let me know in the comment section or DM me on Twitter.
Let's connect on Twitter and LinkedIn.
👋 Thanks for reading, See you next time
